

How to clean a valve 3 way L port?
Leave a message

Hey there! As a supplier of 3 way L port valves, I've seen firsthand how important it is to keep these valves clean. A clean valve not only performs better but also lasts longer. So, in this blog post, I'm gonna walk you through the process of cleaning a 3 way L port valve step by step.
Why Cleaning is Crucial
Before we dive into the cleaning process, let's talk about why it's so important to clean your 3 way L port valve regularly. Over time, dirt, debris, and even some chemical deposits can build up inside the valve. This buildup can cause all sorts of problems, like reduced flow rate, leaks, and even complete valve failure. By cleaning your valve, you can prevent these issues and ensure that your valve is working at its best.
What You'll Need
To clean your 3 way L port valve, you'll need a few basic tools and supplies. Here's what I recommend:
- Safety Gear: Gloves and safety glasses to protect yourself from any chemicals or debris.
- Cleaning Solution: You can use a mild detergent or a specialized valve cleaning solution. Just make sure it's compatible with the materials of your valve.
- Brushes: Soft-bristled brushes to clean the inside of the valve. A toothbrush can work great for hard-to-reach areas.
- Rags or Towels: To dry the valve after cleaning.
- Lubricant: A food-grade lubricant to keep the valve moving smoothly after cleaning.
Step 1: Turn Off the Valve and Isolate the System
The first thing you need to do is turn off the valve and isolate the system. This means shutting off the flow of fluid through the valve and relieving any pressure in the system. You don't want to be working on a valve that's still under pressure, as it can be dangerous. Once you've turned off the valve and isolated the system, you can start the cleaning process.
Step 2: Disassemble the Valve
Next, you'll need to disassemble the valve. This usually involves removing the valve body from the pipeline and taking apart the internal components. Make sure to keep track of all the parts and their order, as you'll need to put them back together correctly later. If you're not sure how to disassemble your valve, refer to the manufacturer's instructions.
Step 3: Clean the Valve Components
Once you've disassembled the valve, it's time to clean the components. Start by soaking the parts in the cleaning solution for a few minutes. This will help loosen any dirt or debris. Then, use the brushes to scrub the parts gently, paying special attention to the areas where dirt and debris tend to accumulate, like the valve seats and the ports. Rinse the parts thoroughly with clean water to remove any remaining cleaning solution.
Step 4: Inspect the Valve Components
After cleaning the valve components, it's a good idea to inspect them for any signs of wear or damage. Look for cracks, scratches, or any other issues that could affect the performance of the valve. If you find any damaged parts, you'll need to replace them before reassembling the valve.
Step 5: Reassemble the Valve
Once you've inspected the valve components and replaced any damaged parts, it's time to reassemble the valve. Make sure to follow the manufacturer's instructions carefully and put the parts back together in the correct order. Apply a small amount of lubricant to the moving parts to ensure smooth operation.
Step 6: Test the Valve
After reassembling the valve, it's important to test it to make sure it's working properly. Reconnect the valve to the pipeline and turn on the flow of fluid through the system. Check for any leaks or other issues. If the valve is working correctly, you're good to go!
Tips for Maintaining Your 3 Way L Port Valve
In addition to regular cleaning, there are a few other things you can do to maintain your 3 way L port valve and keep it working at its best. Here are some tips:
- Use the Right Fluid: Make sure the fluid you're using is compatible with the materials of your valve. Using the wrong fluid can cause corrosion and other damage to the valve.
- Monitor the Pressure: Keep an eye on the pressure in the system and make sure it doesn't exceed the maximum rated pressure of the valve. High pressure can cause the valve to fail.
- Replace Worn Parts: Over time, the moving parts of the valve will wear out. Make sure to replace these parts regularly to keep the valve working properly.
Other Valve Products We Offer
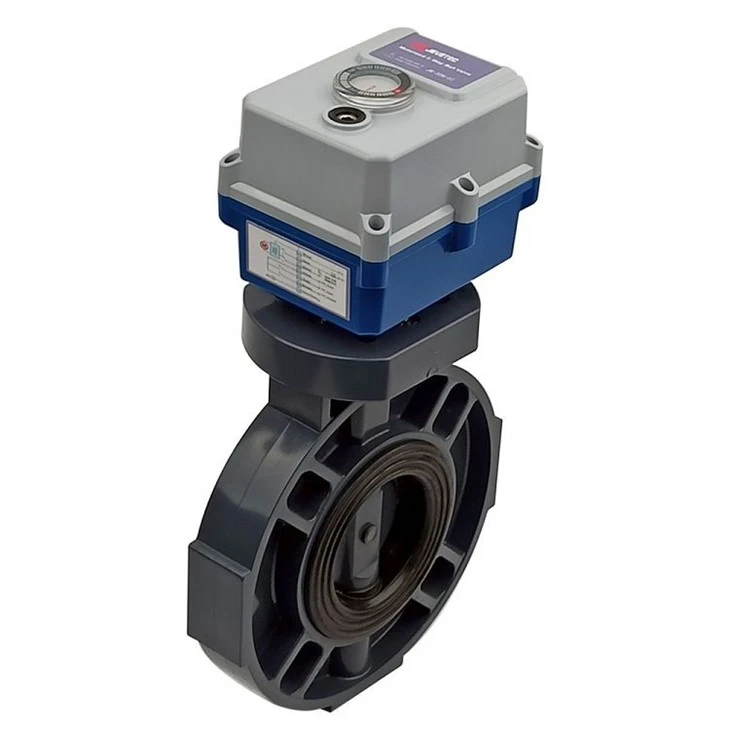
As a valve supplier, we offer a wide range of valve products to meet your needs. In addition to 3 way L port valves, we also offer Tuya Wireless Motorized Butterfly Valve, Motorized Pvdf Butterly Valve, and Motorised Upvc Butterly Valve. These valves are designed to provide reliable and efficient flow control in a variety of applications.

Contact Us for Your Valve Needs
If you're in the market for a new valve or need help with valve maintenance, don't hesitate to contact us. We have a team of experts who can help you find the right valve for your application and provide you with the support you need. Whether you're a small business or a large industrial operation, we have the products and expertise to meet your needs. So, what are you waiting for? Reach out to us today and let's get started on your valve project!
References
- Valve Manufacturer's Manuals
- Industry Best Practices for Valve Maintenance


